
How to start a worm farm UK gardeners follow is simple, cheap and perfect for small spaces. Worm farms turn kitchen scraps into rich compost while reducing waste. Whether you live in a house or flat, this guide shows you how to build and run one properly.
What is a worm farm?
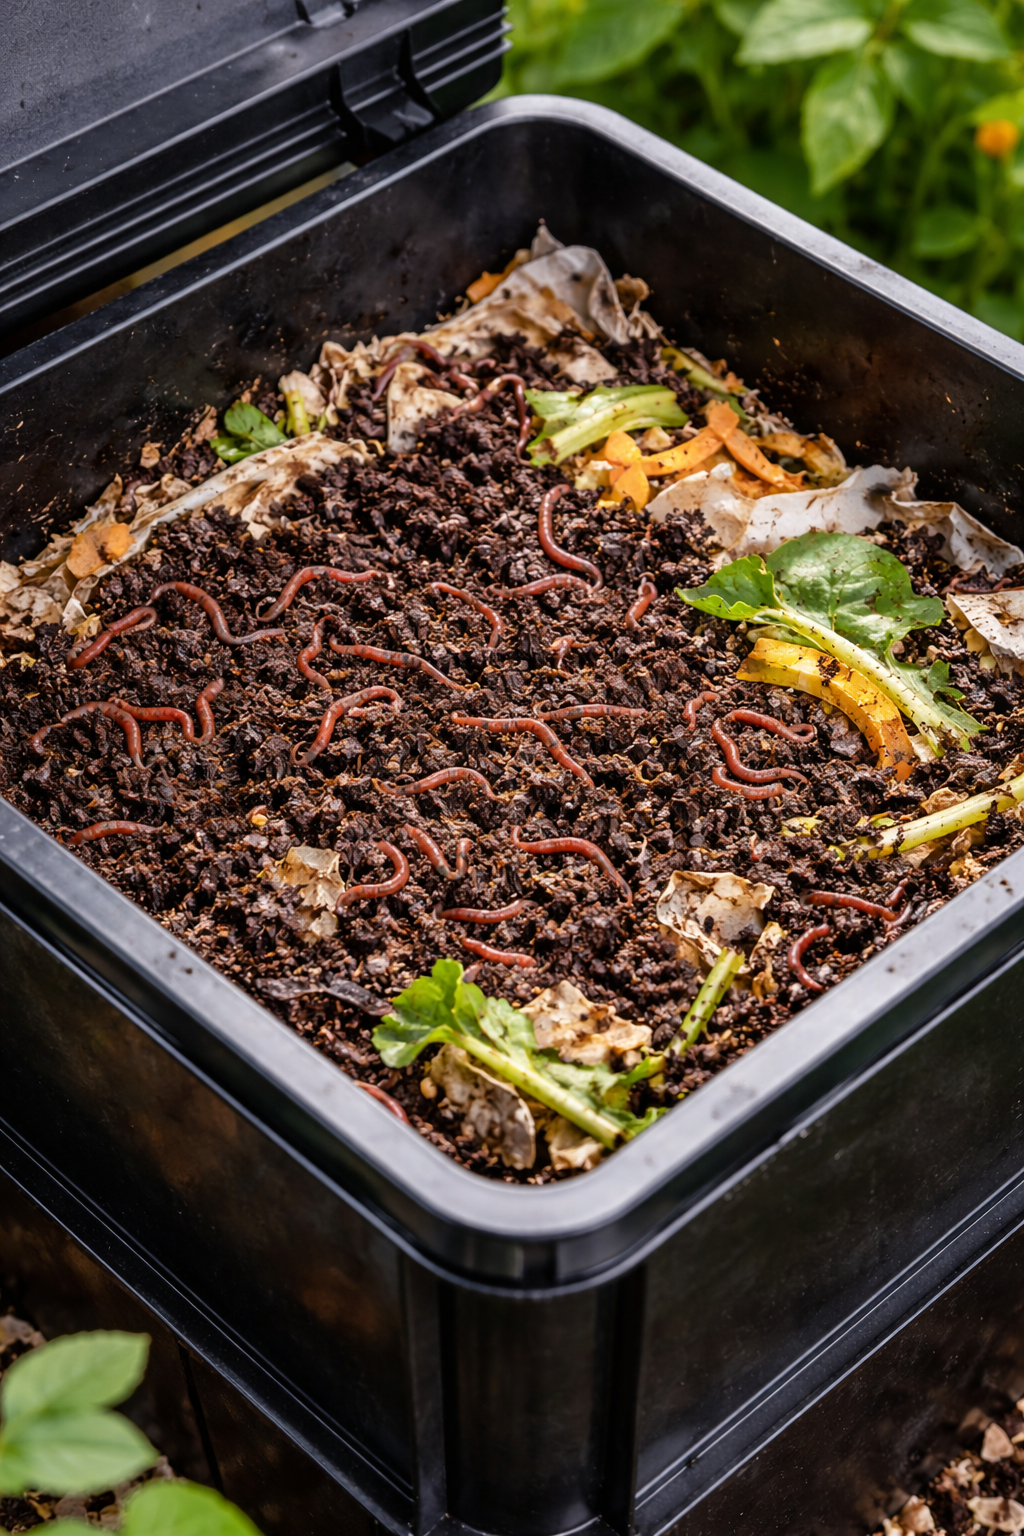
A worm farm (vermicompost system) uses composting worms to break down food waste into nutrient-rich castings. This compost is perfect for:
- Tomatoes
- Chillies
- Houseplants
- Seedlings
Best worms for a home worm farm
Use composting worms, not garden worms:
- Red wigglers
- Tiger worms
- Eisenia fetida
These species thrive in bins and process waste quickly.
Choosing a worm bin
You can buy a purpose-built bin or make your own:
- Plastic storage box with lid
- Drainage holes in the bottom
- Tray or container underneath
Keep your bin indoors, garage or shed (5–25°C is ideal).
Bedding material
Worms need soft, damp bedding:
- Shredded cardboard
- Newspaper (no glossy ink)
- Coco coir
- Partially composted leaves
Dampen bedding until it feels like a wrung-out sponge.
What to feed your worms
Good food:
- Vegetable peelings
- Tea bags
- Crushed eggshells
- Coffee grounds
Avoid:
- Meat & dairy
- Citrus (too much acid)
- Spicy food
- Salty leftovers
How often to feed
Start slow. Feed small amounts and only add more once it disappears. Overfeeding causes:
- Bad smells
- Fruit flies
- Rotting food
Harvesting worm compost
After 2–3 months:
- Push contents to one side
- Add fresh food to the empty side
- Worms migrate across
- Collect finished compost
Using worm castings in the garden
Apply to:
- Tomato pots
- Chilli containers
- Seed trays
Use as a top-dress or mix into compost.
Helpful external resources
Related guides
Final thoughts
How to start a worm farm UK beginners follow is all about balance – not too wet, not too dry, not too much food. Get that right and your worms will quietly work for you all year.
